For your security and convenience, we provide all clients with a personalized client portal, through Box. Below you will find FAQs to assist you in better navigating your Box portal. The Box portal is designed to help you share and collaborate with our team in a convenient and secure manner.
**Recommendation: Please access your Box portal on a computer, for full functionality.
Box.com supports both Windows and MacOS.
(For the best experience, we recommend using Google Chrome, Microsoft Edge, Firefox or Safari when accessing the Box.com website)
Box FAQs
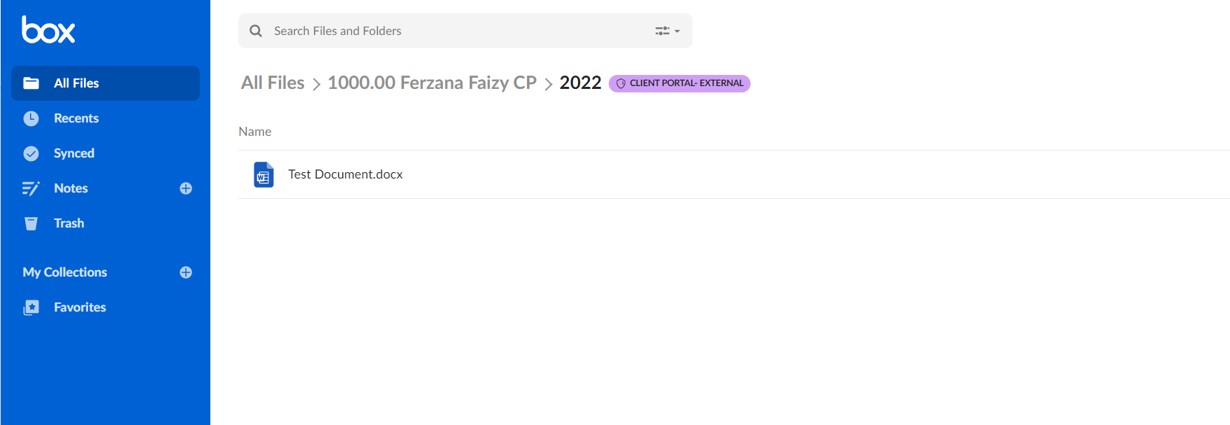
(The folder that we have shared with you is what is accessible with your accountant, any folders or documents created outside of your client portal folder we do not have access to).
- Simply Select the file that you would like to move inside of your client poral folder. Now drag and drop it into the client portal folder.
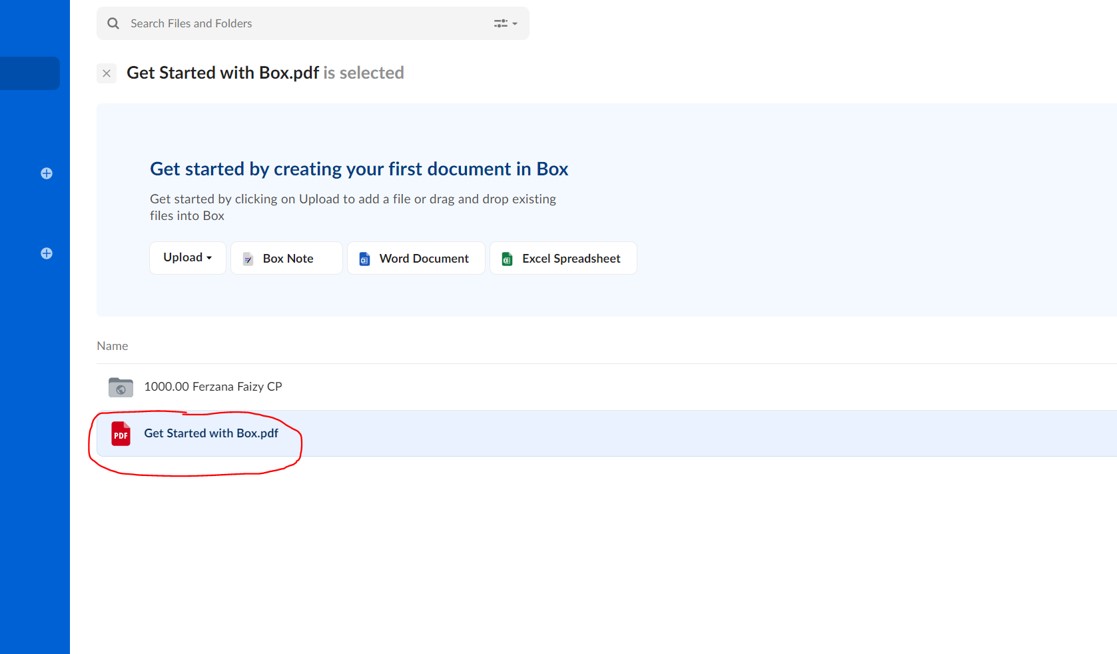
- Or you may select the file and navigate option to the right of the file and select the first icon with three dots. Choose the Move or Copy option, this will drop the files into your client portal folder.
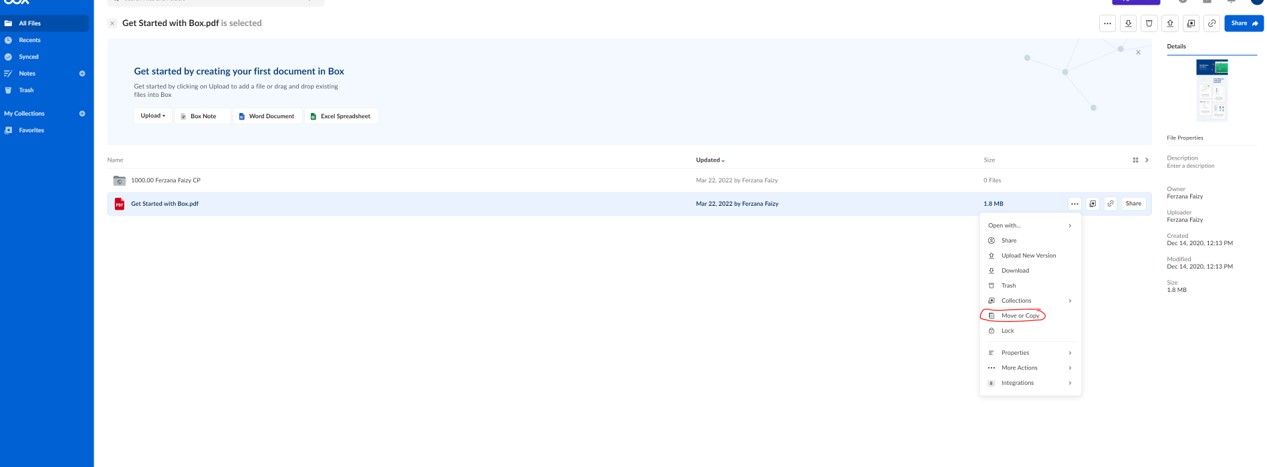
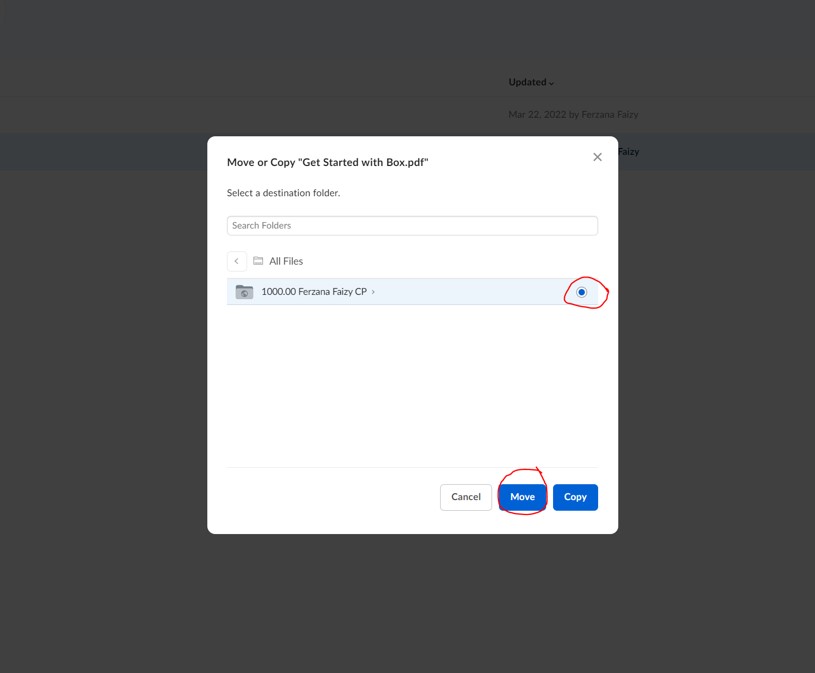
- Then select your client portal folder and then click Move. This will drop the files into your client portal folder.
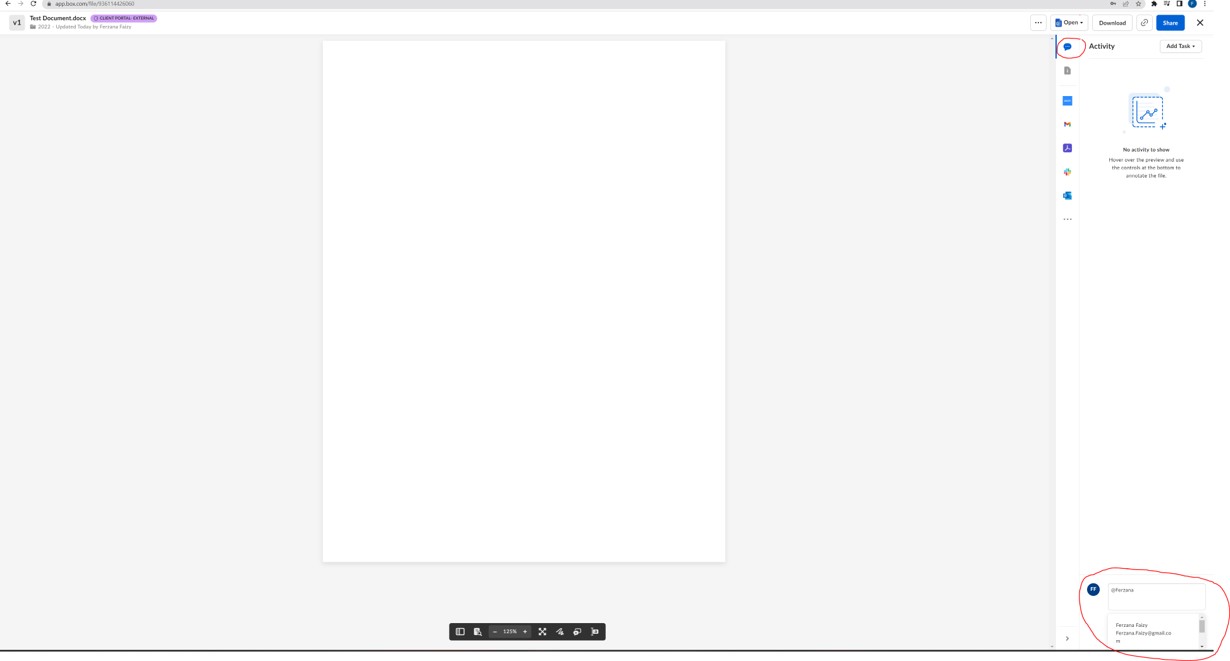
- After uploading your files. Select the file you would like to preview and add comments or notes to your accountant regarding the files.
- Navigate to the bottom right of your page and you will see a text box to add comments. After you add the comment or note for your accountant, type the @ symbol followed by your accountant’s name with no spaces. You will see the accountant’s names appear from a drop-down list. Select your accountant’s name from the drop-down list.
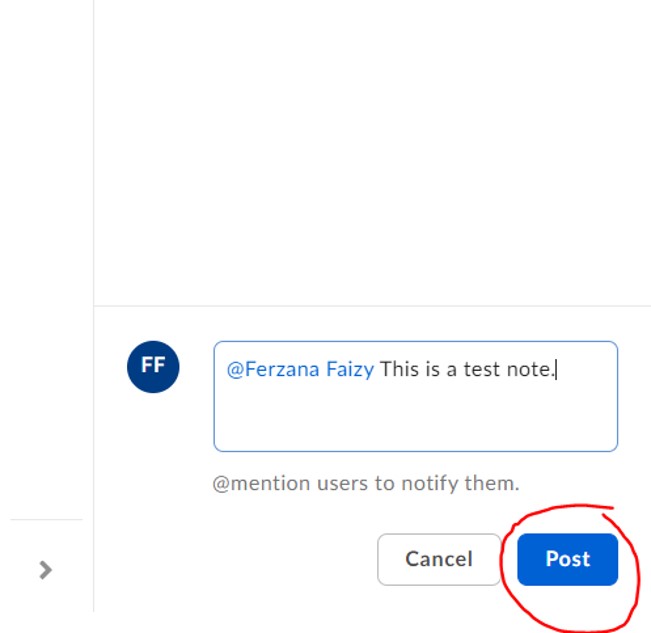
- Once you have added your note, click Post. This feature will enable a notification to your accountant regarding a comment you have @metioned them and posted.
Select the file you would like to download from your client portal folder, then in preview mode navigate to the right of the file and click on Download.

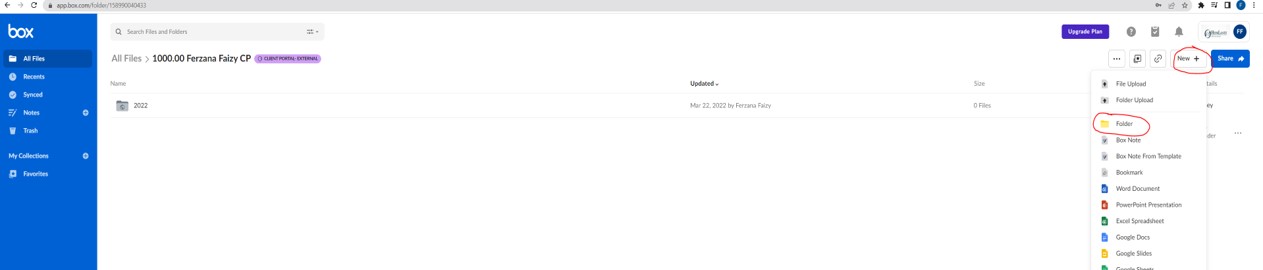
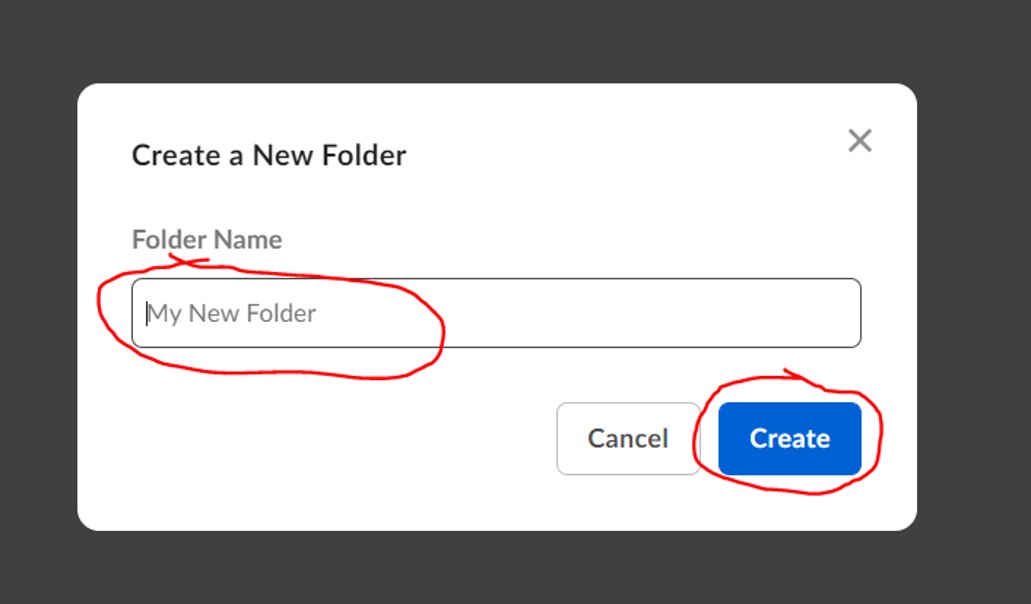
- Go to your client portal folder titled with your client ID and client name. Once you are sitting inside of your client portal folder. Navigate to the right of it and click “New +”.

- Then select Folder from the drop-down menu to create a new subfolder.
- You will be prompted to name your folder. Name it, then click Create.
Once you log into your Box account, on the top right-hand corner of the page there is a bell notification icon. Click on that icon and you will be able to see all your notifications along with notes that your accountant has @mentioned you on or posted referencing files for review. You will also receive an email notification that your accountant has @metioned you in a file.

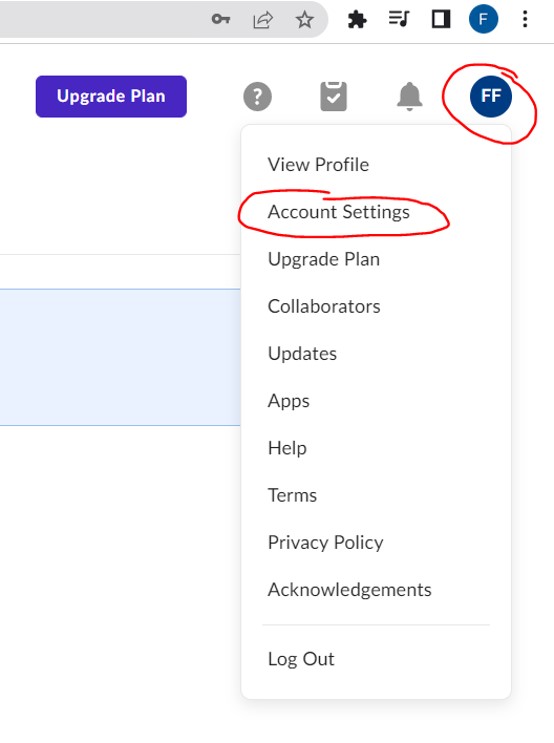
- Once your logged onto to your Box account, navigate to the upper right corner of your screen and click on your initials, then select Account Settings from the drop-down menu.
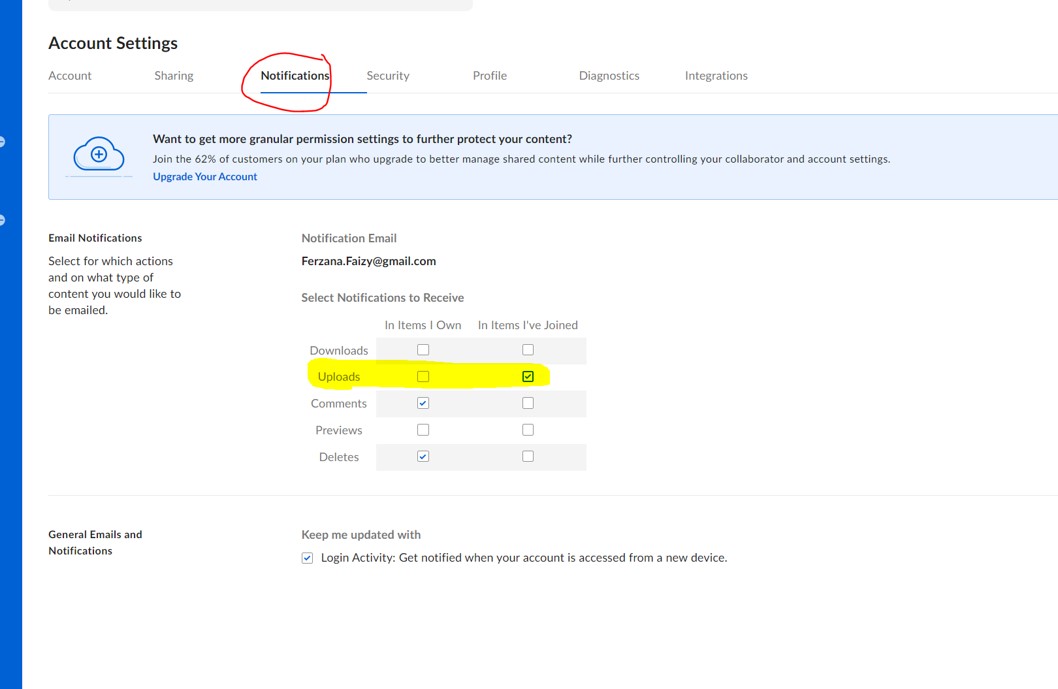
- Navigate to the Notifications tab on the top of your Account Settings page, then check off the box for uploads in the column that indicates “In Items I’ve Joined.”
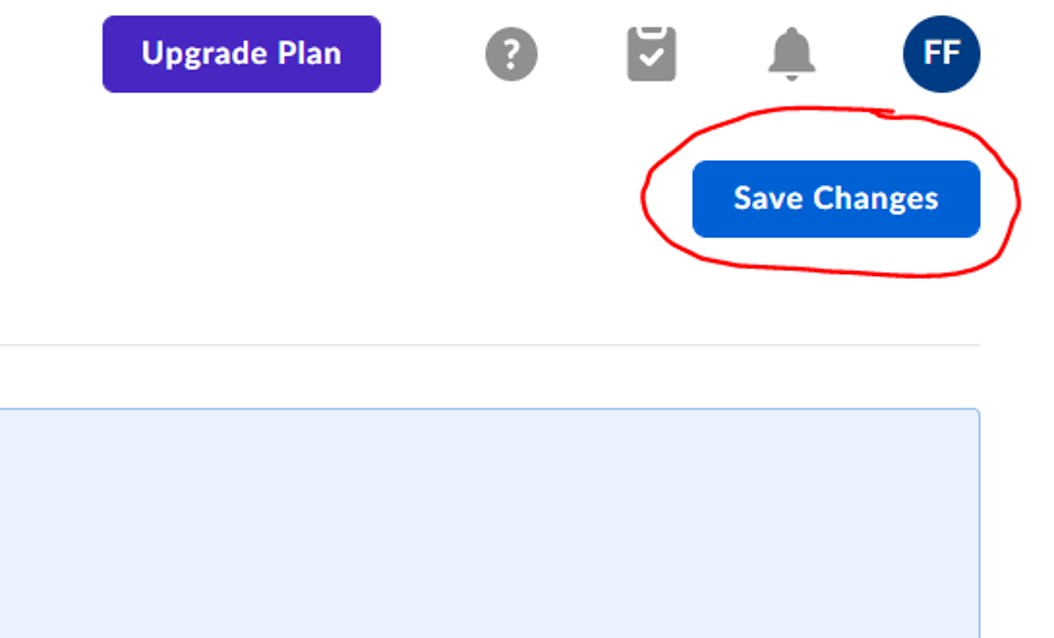
- In the upper right corner of the screen select Save Changes. You will now receive automatic email notifications whenever a file is uploaded into your client portal folder.
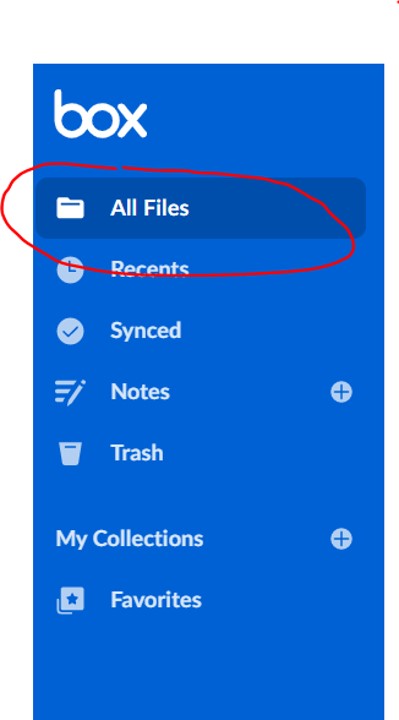
Navigate to the left-hand side menu panel and click on “All Files” this will take you back to the home page.